
Divi’s animation options can quickly turn an already beautiful page into an engaging one as well. By now, we’ve all gotten used to the different animations that are built into the various design elements that Divi provides you with. But did you know you can use these animations to highlight one specific design option as well?
In this tutorial, we’ll focus on creating animated background colors. To accomplish the desired outcome, we’re going to use a Divider Module for its background color and place a Text Module on top of it. We hope this tutorial inspires you to add animated background colors to upcoming web design projects.
Let’s get to it!
Preview
Before we dive into the tutorial, let’s take a quick look at the outcome across different screen sizes.
Desktop
Mobile
Download The Animated Background Color Layout for FREE
To lay your hands on the free animated background color layout, you will first need to download it using the button below. To gain access to the download you will need to subscribe to our Divi Daily email list by using the form below. As a new subscriber, you will receive even more Divi goodness and a free Divi Layout pack every Monday! If you’re already on the list, simply enter your email address below and click download. You will not be “resubscribed” or receive extra emails.

Let’s Start Recreating!
Add New Section
Spacing
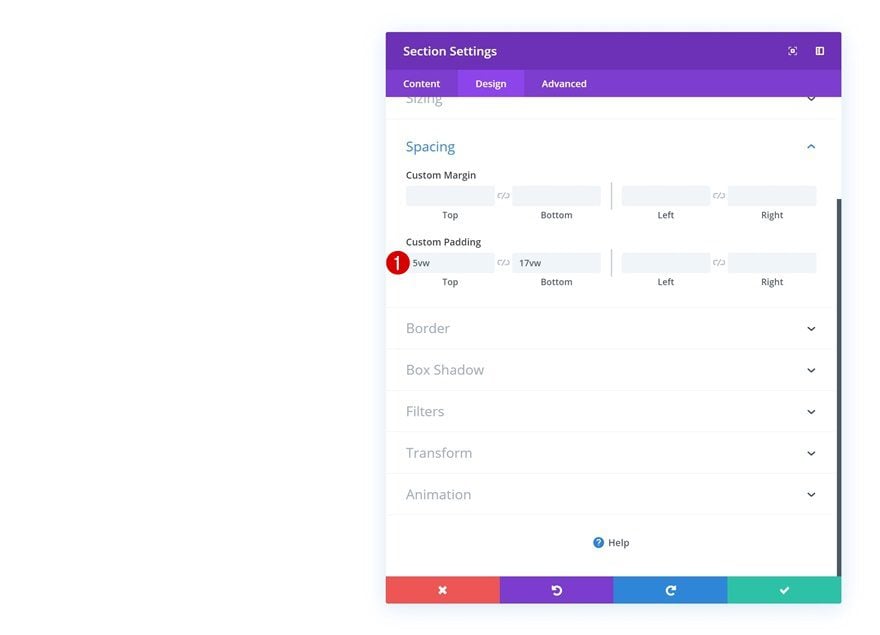
The first thing you will need to do is add a new section to the page your working on. Open the section settings and add some custom padding values.
- Top Padding: 5vw
- Bottom Padding: 17vw
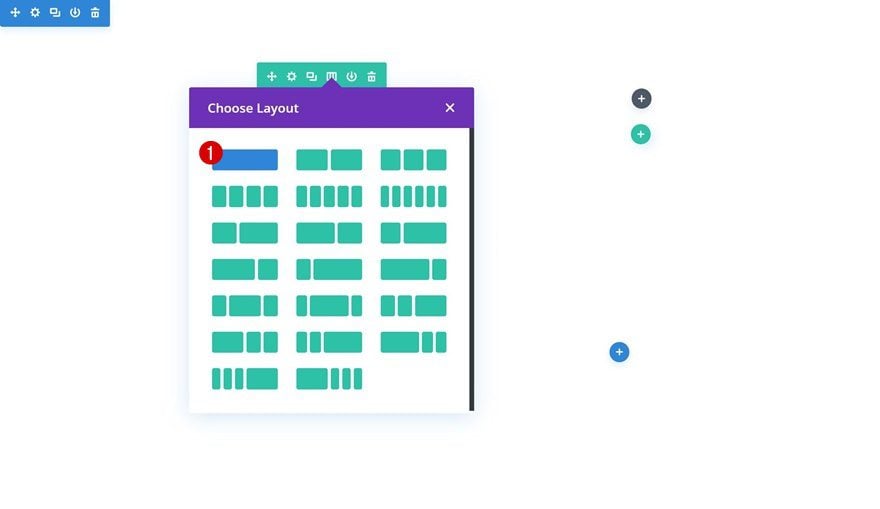
Add New Row
Column Structure
Continue by adding a new row using the following column structure:
Sizing
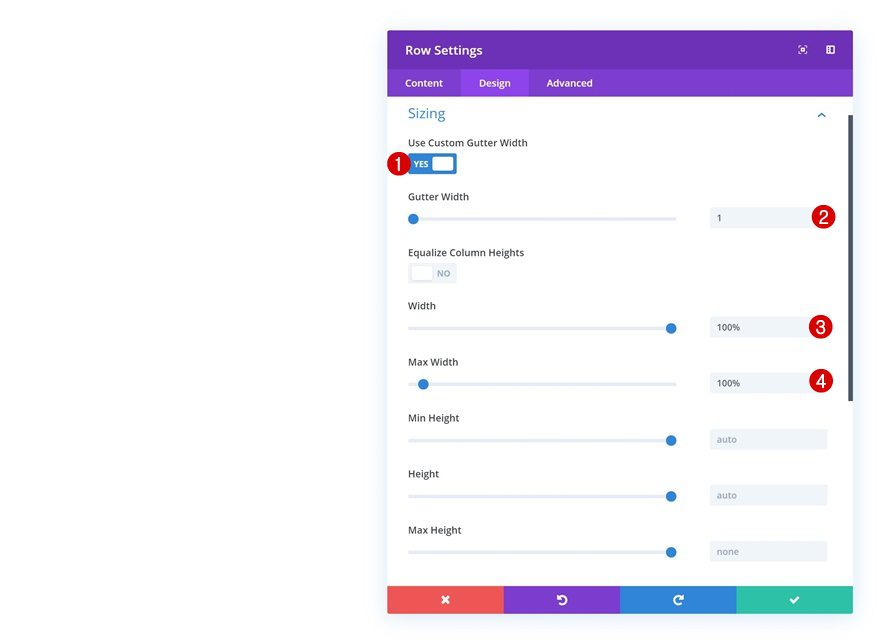
Without adding any modules yet, open the row settings and allow the row to take up the entire width of the screen.
- Use Custom Gutter Width: Yes
- Gutter Width: 1
- Width: 100%
- Max Width: 100%
Add Divider Module #1 to Column
Visibility
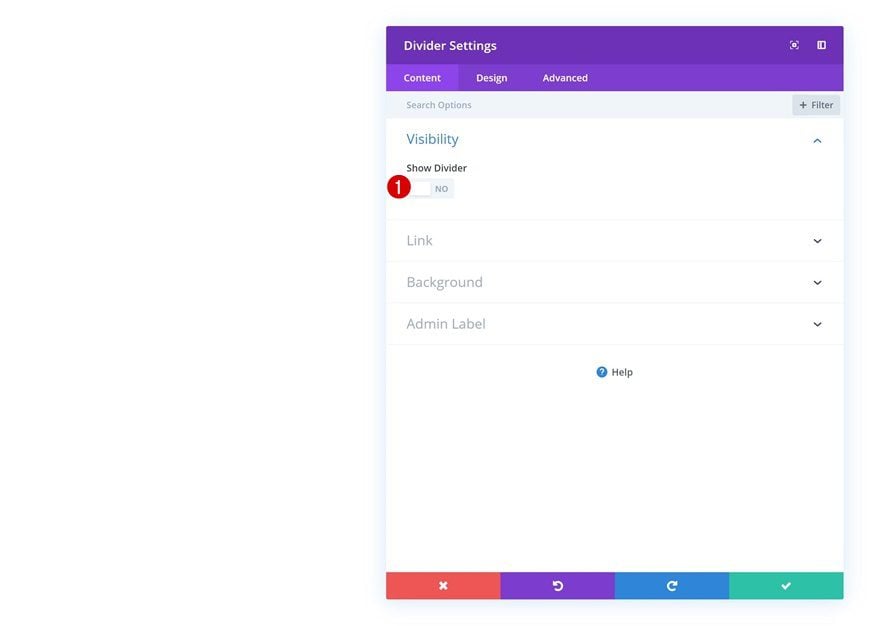
Time to start adding the various modules we need, starting with a Divider Module. This Divider Module will be used for its background color, size and animation. Make sure the ‘Show Divider’ option is disabled.
- Show Divider: No
Background Color
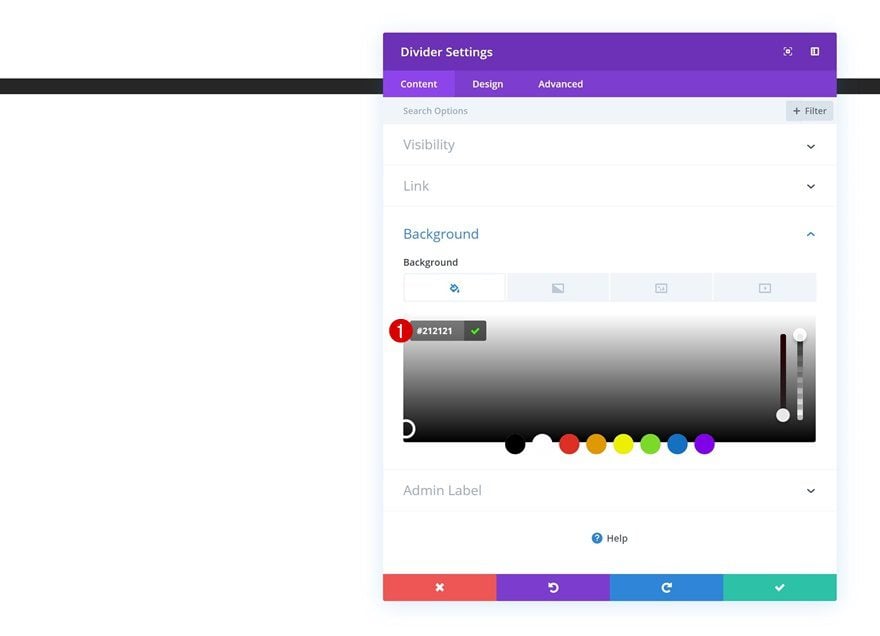
Go to the background settings and add the following background color:
- Background Color: #212121
Spacing
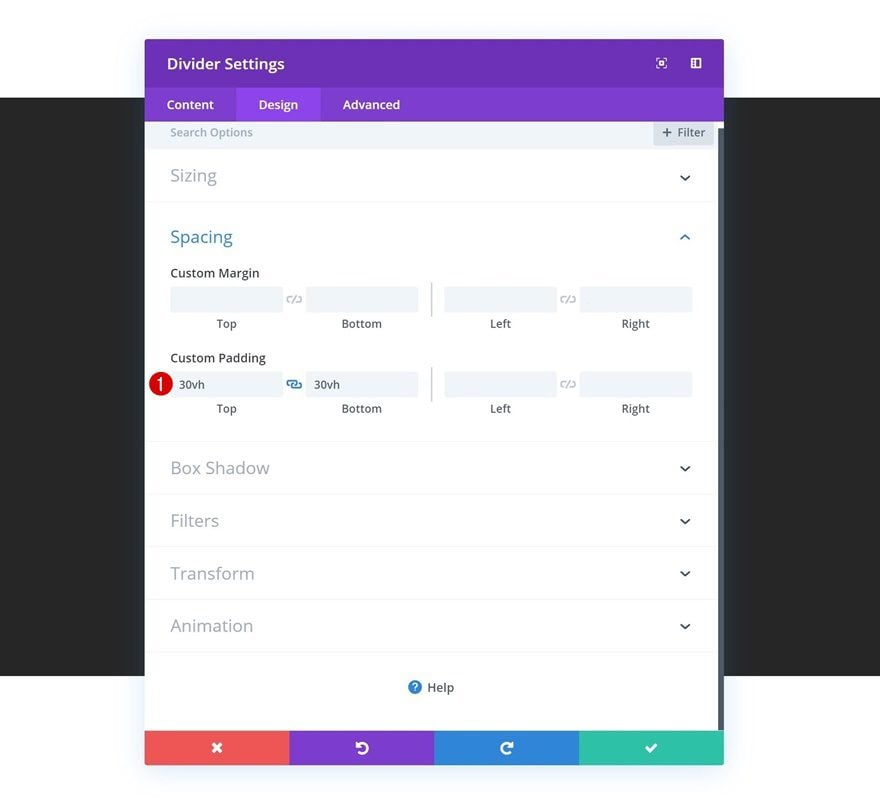
Move on to the spacing settings and give your module the desired shape using the viewport height unit.
- Top Padding: 30vh
- Bottom Padding: 30vh
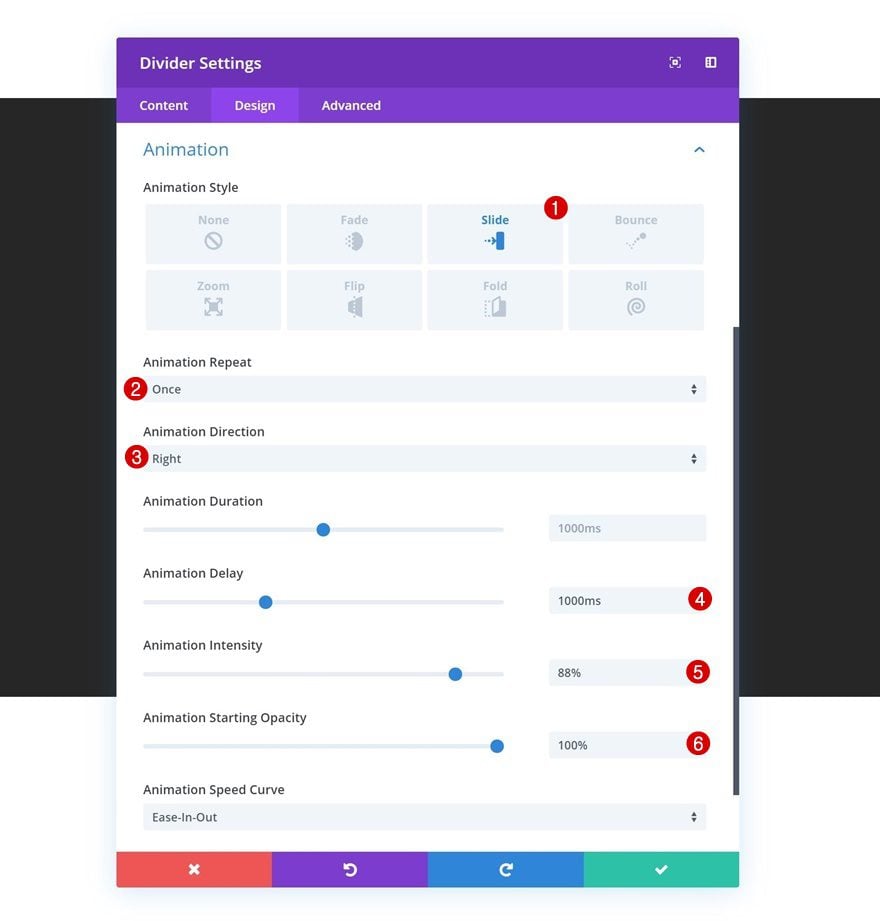
Animation
We’re allowing the background color to be animated by adding a custom animation with an animation delay.
- Animation Style: Slide
- Animation Repeat: Once
- Animation Direction: Right
- Animation Delay: 1000ms
- Animation Intensity: 88%
- Animation Starting Opacity: 100%
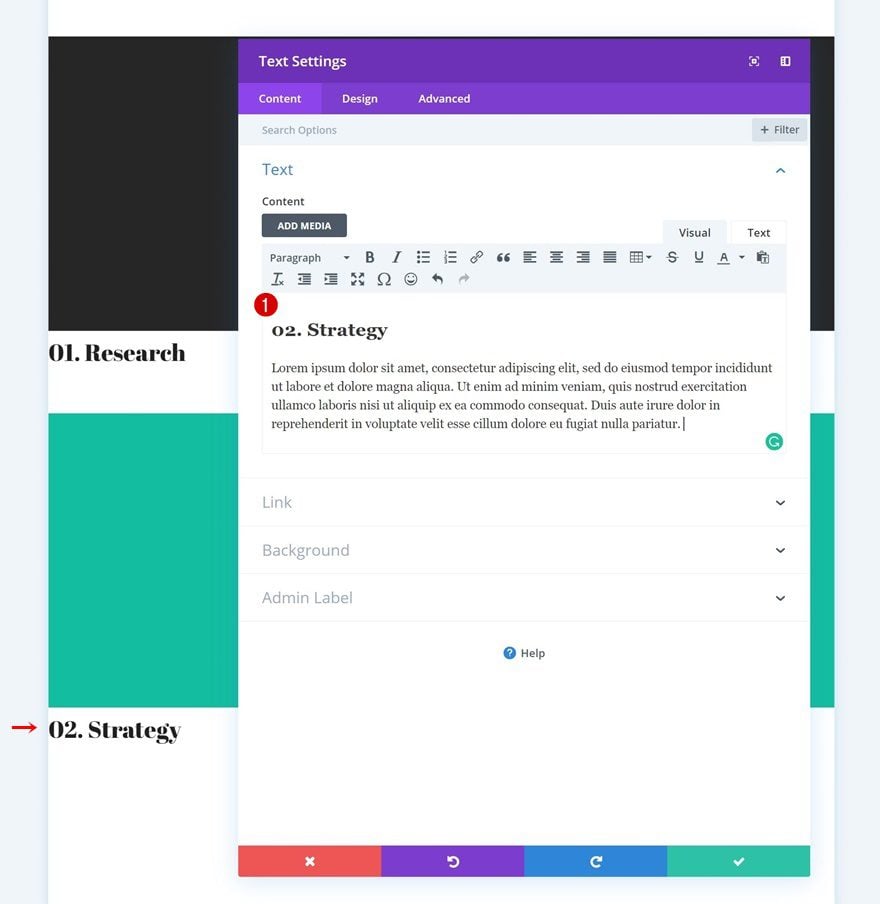
Add Text Module #1 to Column
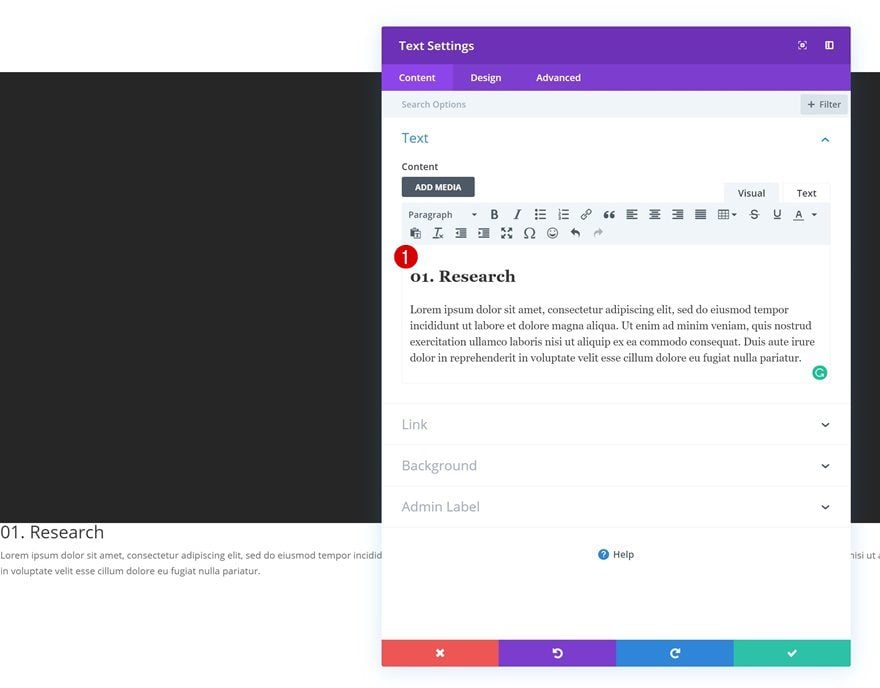
Add Content
The next module we need is a Text Module. Add some H2 and paragraph content of your choice.
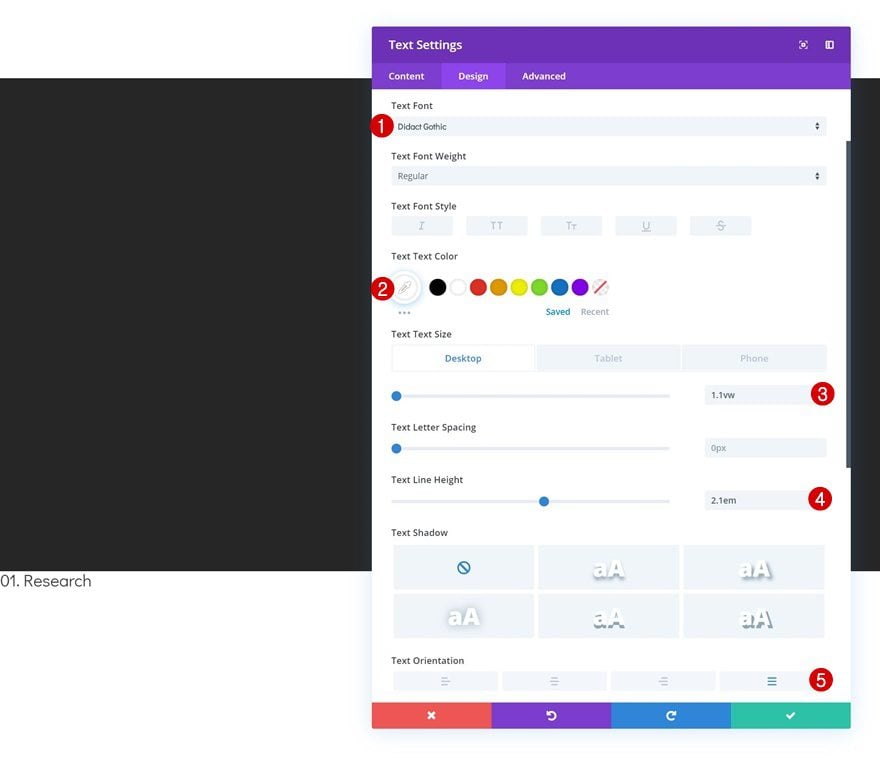
Text Settings
Then, go to the text settings and modify the values accordingly:
- Text Font: Didact Gothic
- Text Color: #ffffff
- Text Size: 1.1vw (Desktop), 1.7vw (Tablet), 2.5vw (Phone)
- Text Line Height: 2.1em
- Text Orientation: Justify
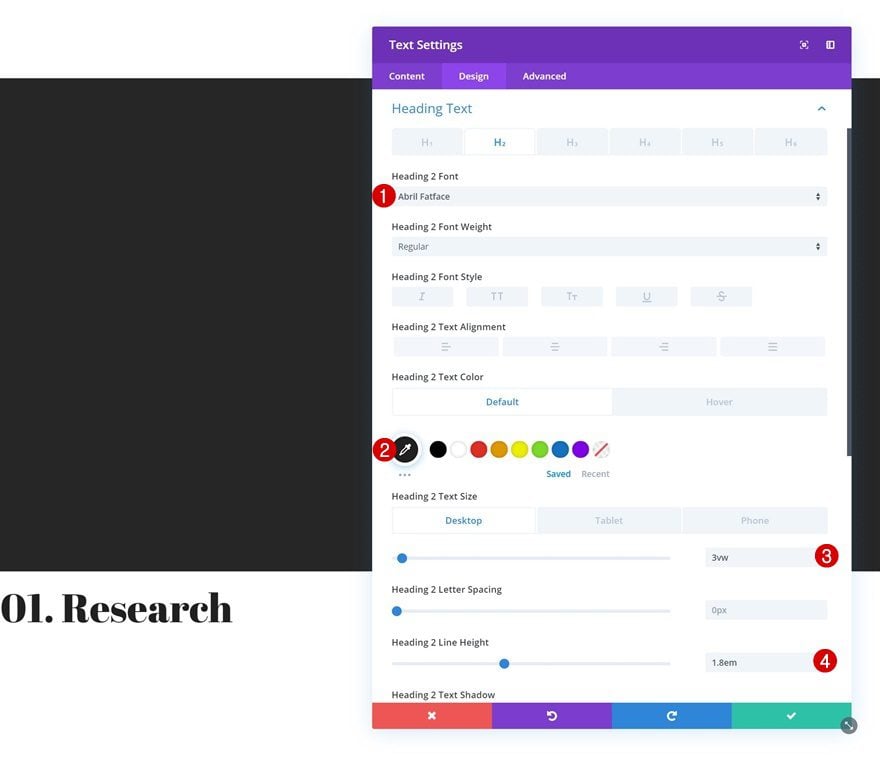
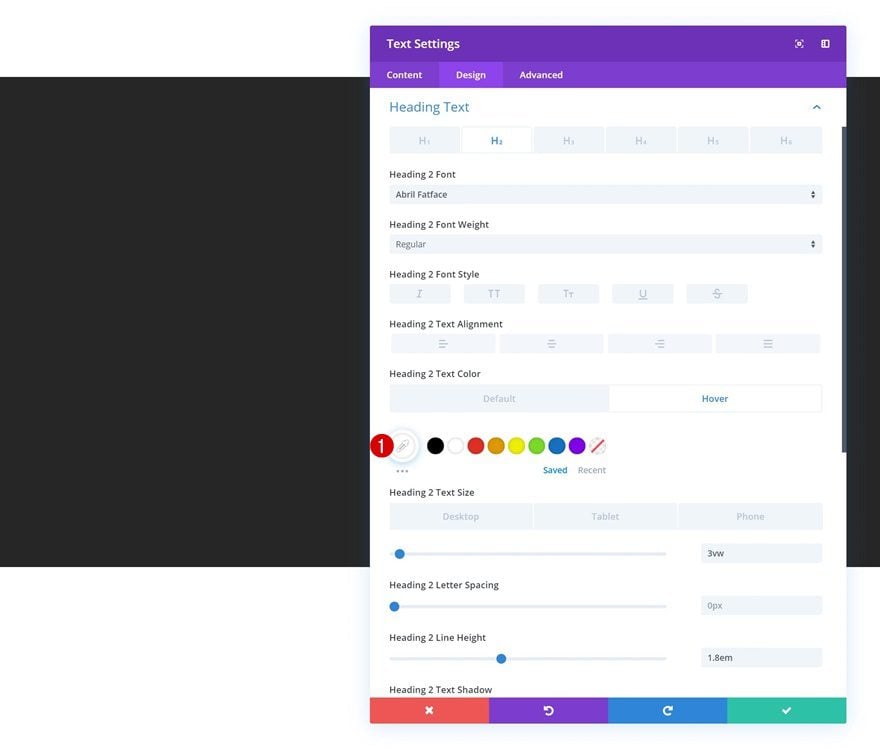
Default Heading 2 Text Settings
Make some changes to the H2 text settings next.
- Heading 2 Font: Abril Fatface
- Heading 2 Text Color: #1c1c1c
- Heading 2 Text Size: 3vw (Desktop), 5vw (Tablet), 7vw (Phone)
- Heading 2 Line Height: 1.8em
Hover Heading 2 Text Settings
We’re also modifying the text color on hover.
- Heading 2 Text Color: #ffffff
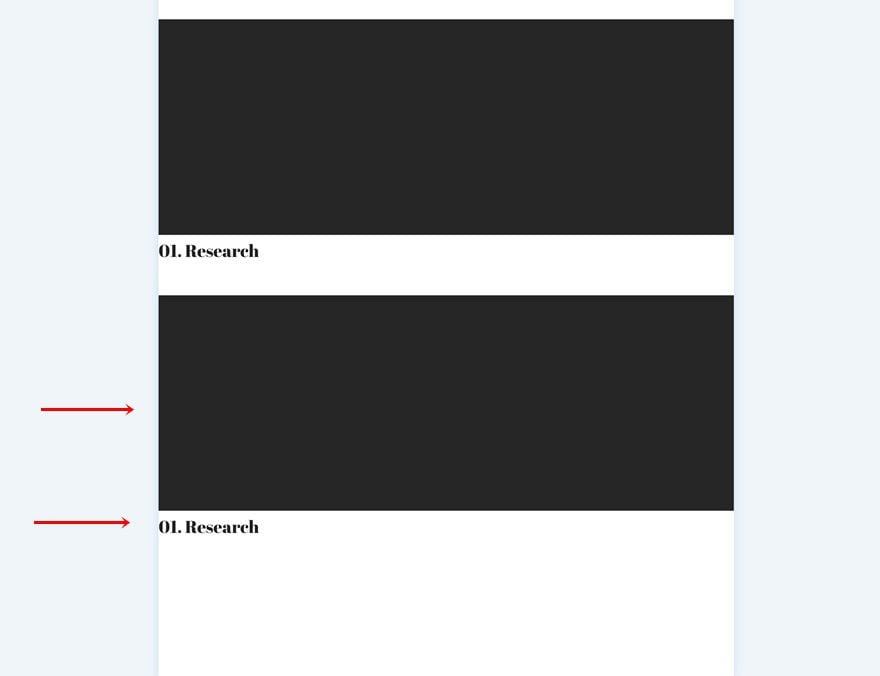
Clone Both Modules
Once you’re done adding and customizing both modules, you can clone them. In the upcoming steps of this post, we’ll modify all four modules to create a background color animation coming from both sides. We’ll also add an overlap to the Text Modules to make it look like the divider modules and text modules are created in the same container.
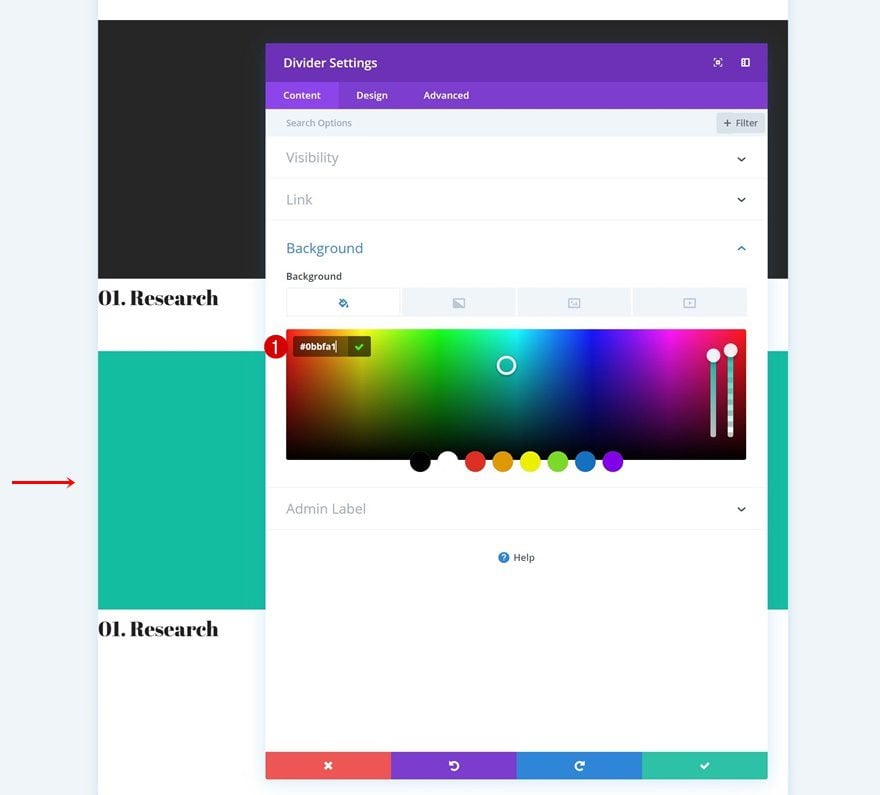
Modify Divider Module Duplicate
Change Background Color
Open the duplicate Divider Module and change the background color.
- Background Color: #0bbfa1
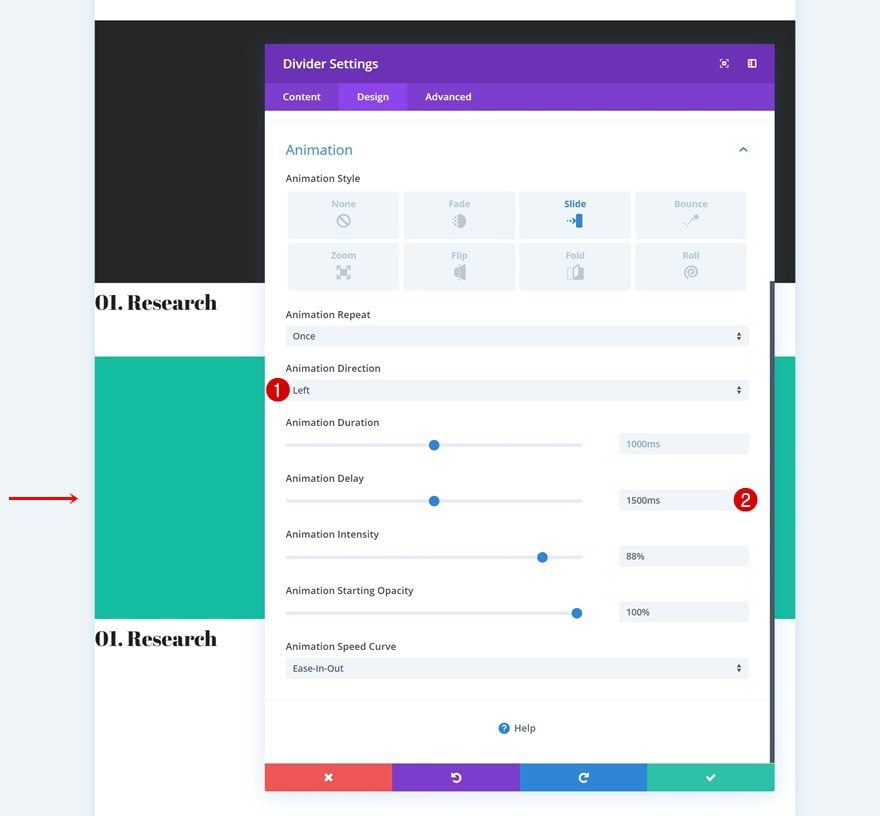
Change Animation
To make the background animation show up from the other side, we’re changing the animation direction. We’ll also add a slightly higher animation delay to achieve our desired outcome.
- Animation Direction: Left
- Animation Delay: 1500ms
Modify Text Module Duplicate
Change Content
Continue by opening the duplicate Text Module and changing the content.
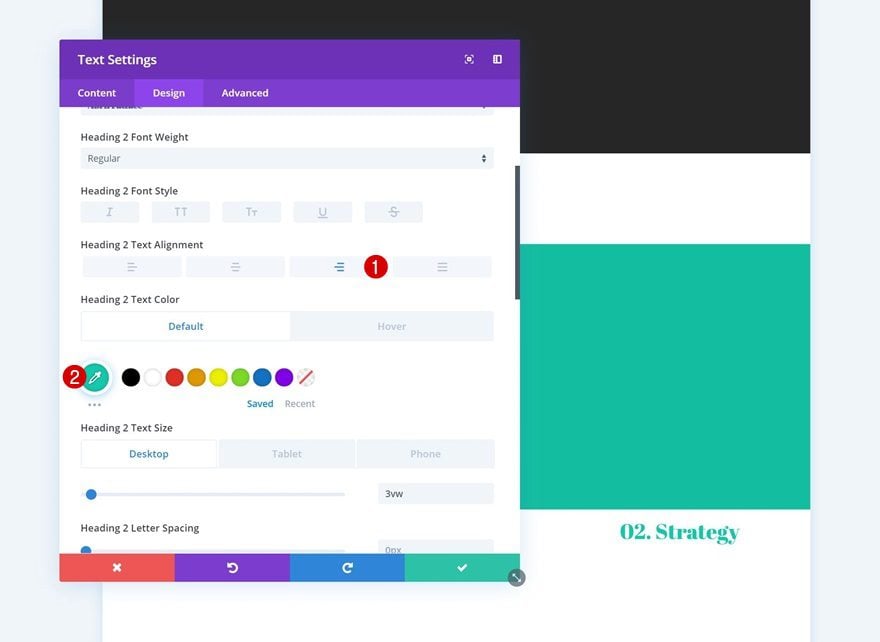
Change Heading 2 Text Settings
Move on to the design tab and change the H2 text settings as well.
- Heading 2 Text Alignment: Right
- Heading 2 Text Color: #0cc9ad
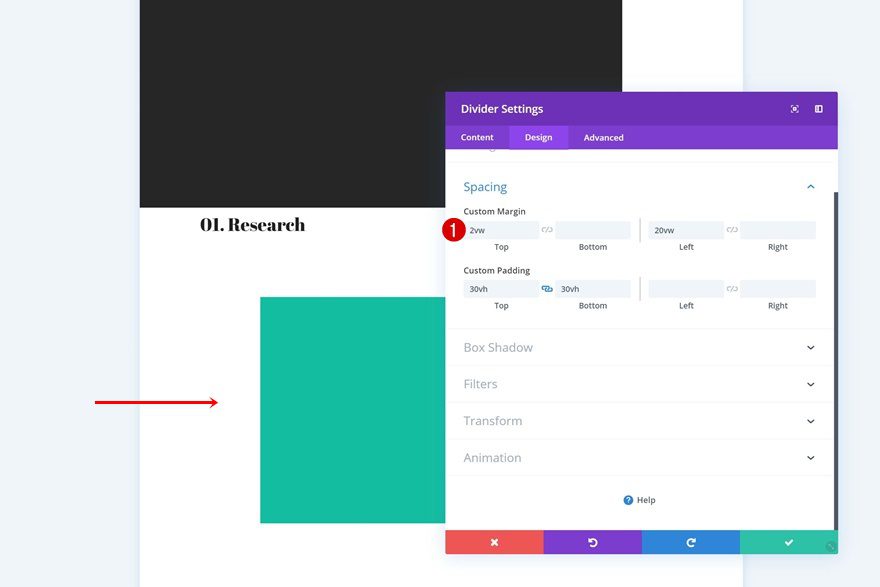
Divider Positioning
Divider Module #1
To allow some white space to show up at the right side of the first Divider Module, we’re going to add some right margin using the viewport width unit.
- Right Margin: 20vw
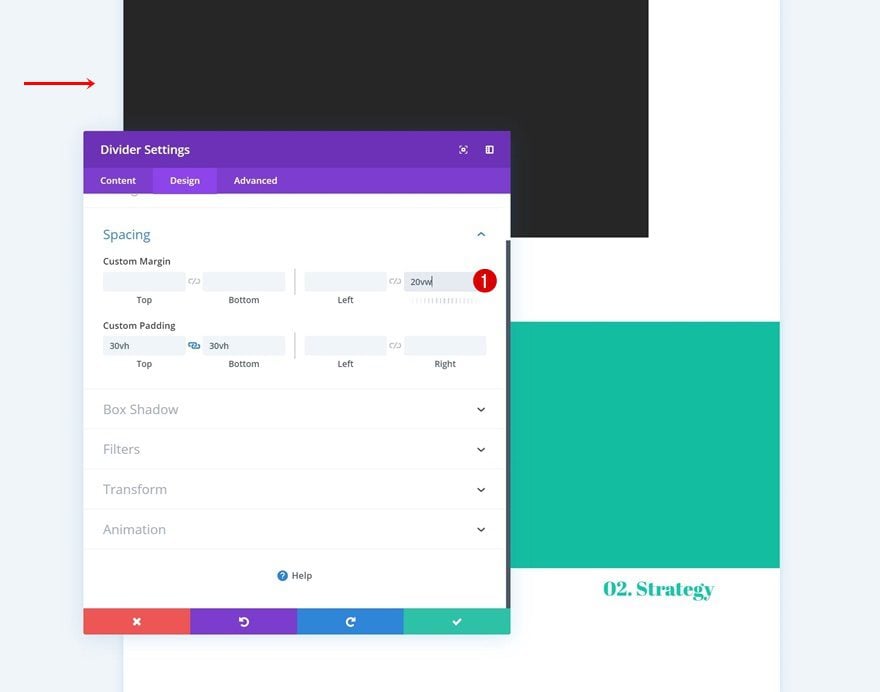
Divider Module #2
Open the second Divider Module as well and allow the same space to be taken up, but on the left side of the page instead.
- Top Margin: 2vw
- Left Margin: 20vw
Add Overlaps
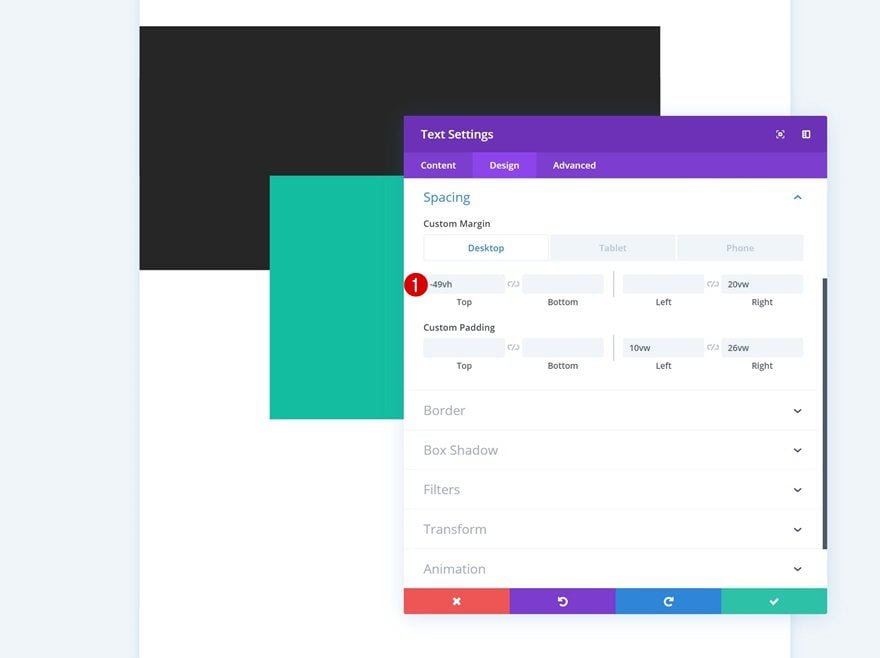
Text Module #1
Now that we’ve customized all the modules in our row, we can start creating the overlaps, starting with the first Text Module. Add the following custom margin values to the spacing settings of the module:
- Top Margin: -49vh
- Right Margin: 20vw (Desktop), 15vw (Tablet), 10vw (Phone)
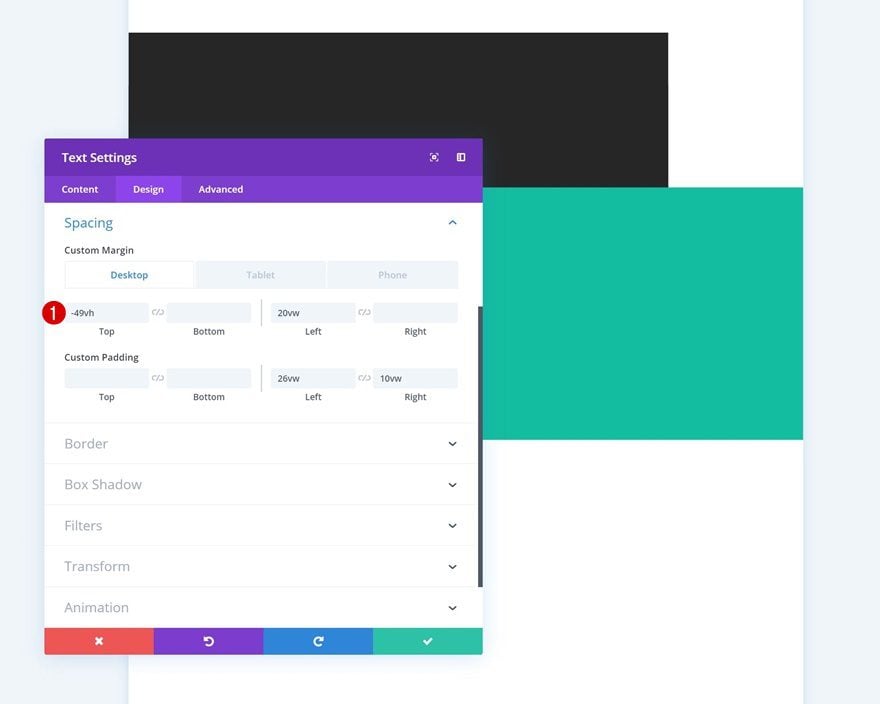
Text Module #2
Use the following custom margin values for the duplicate Text Module as well:
- Top Margin: -49vh
- Left Margin: 20vw (Desktop), 15vw (Tablet), 10vw (Phone)
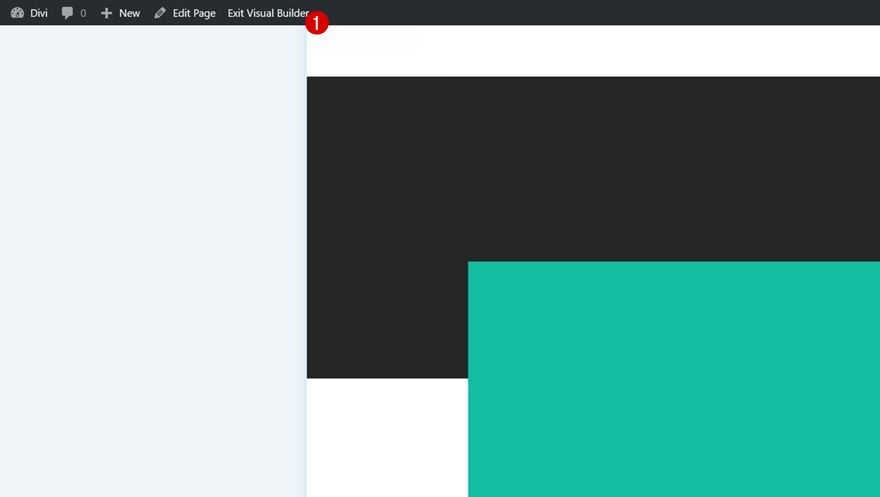
Exit Visual Builder to View Outcome
Once you’ve created the overlaps, you’ll need to exit the Visual Builder to view the outcome!
Preview
Now that we’ve gone through all the steps, let’s take a final look at the outcome across different screen sizes.
Desktop
Mobile
Final Thoughts
We’re always looking for ways to help you push boundaries in web design and create beautiful and engaging websites. In this post, we’ve creatively combined different design elements and overlaps to create animated background colors. This is a great way to add some extra dimension to any page you’re working on and to make your website match current design trends perfectly. If you have any questions or suggestions, make sure you leave a comment in the comment section below.
If you’re eager to learn more about Divi and get more Divi freebies, make sure you subscribe to our email newsletter and YouTube channel so you’ll always be one of the first people to know and get benefits from this free content.
The post How to Create Animated Background Colors with Divi appeared first on Elegant Themes Blog.
😉SiliconWebX | 🌐ElegantThemes