
When designing a website, one of the first decisions you consciously or unconsciously make is the color style you’re going to give to your website. The brave ones among us would dare to go for a complete vibrant color palette but, let’s be honest, that’s incredibly hard to pull off. That’s why it’s usually safer to go with either a light or a dark layout. In the Premade Layouts section of the Divi Library, you can find a ton of light and dark layouts that you are free to use when building any type of website. But what if you like the layout, but would rather have a darker color palette or vice versa?
With Divi’s efficiency features, going from a light to dark layout pack, and the other way around, is easier than ever. In this post, we’re going to show you how you can turn a light layout into a dark one in just 5 steps. The amount of time that is needed to make this transition is crazy low if you’re using the right techniques. Know that the number of steps you need to take will always depend on the layout you’re working on but once you get the overall approach, you’ll be able to make it work for any layout you’re dealing with.
Let’s get to it!
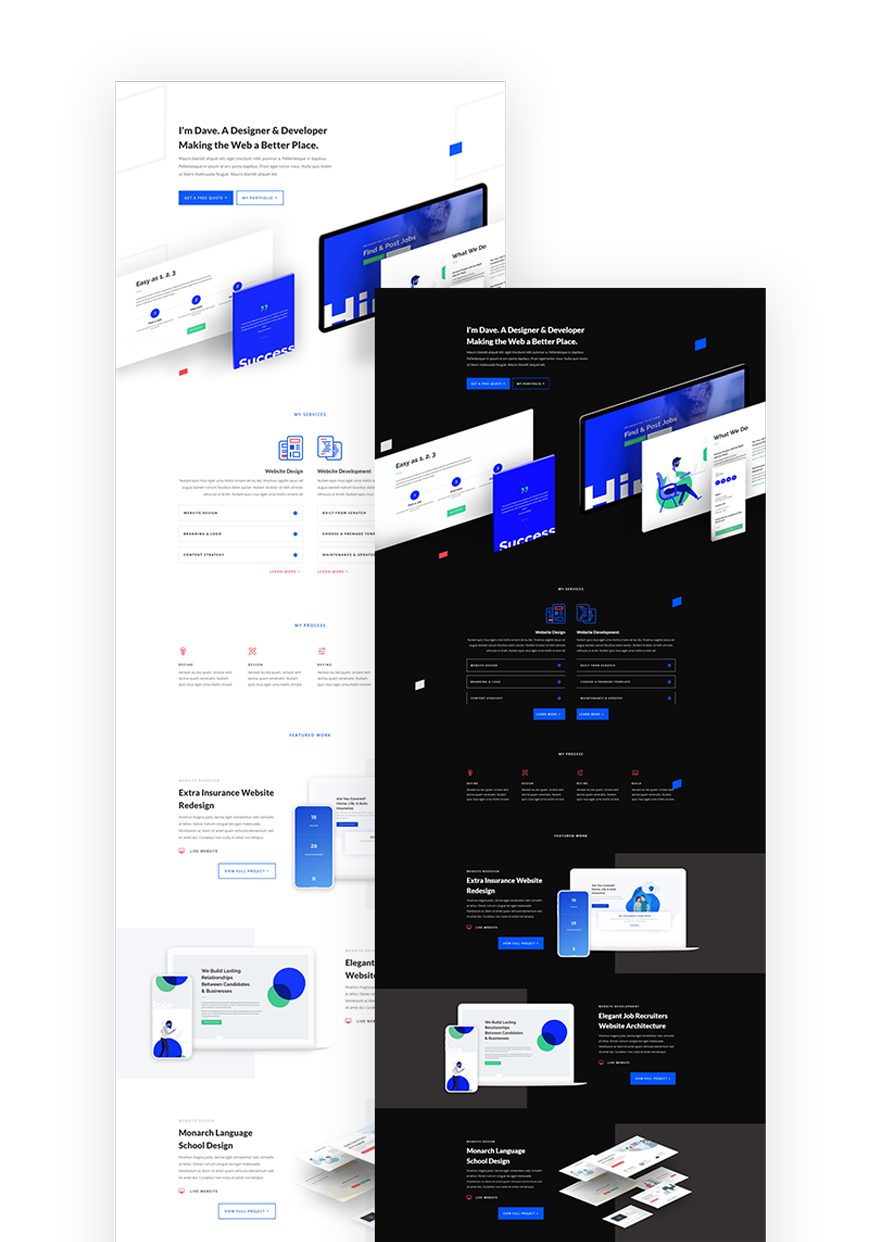
Preview
In 5 steps only, we’re going to change the Web Freelancer Layout Pack‘s light landing page into a dark one.
Upload Web Freelancer Landing Page
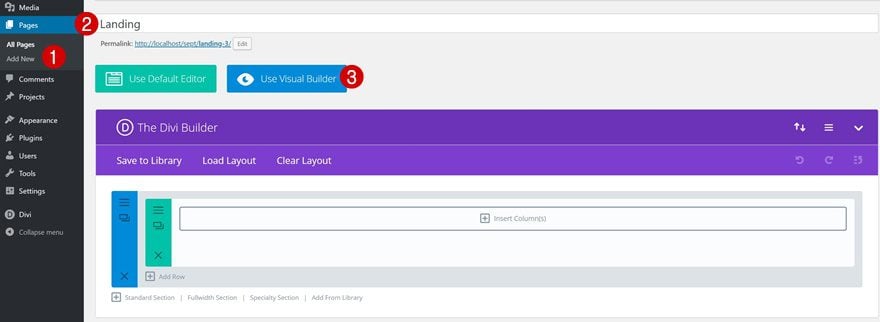
Add a New Page & Enable Visual Builder
Start off by adding a new page, giving your page a title and switching over to Visual Builder.
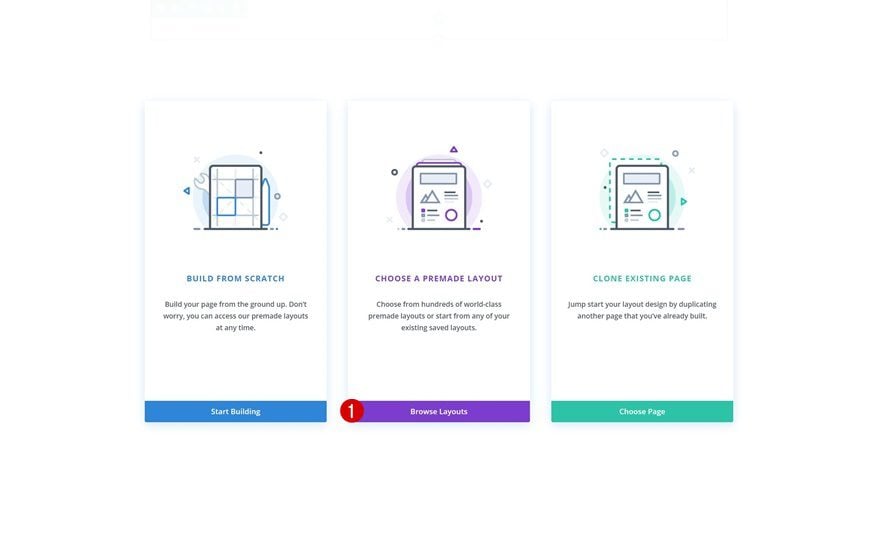
Upload Web Freelancer Layout Pack
Out of the three options that appear on your screen, choose to upload a premade layout.
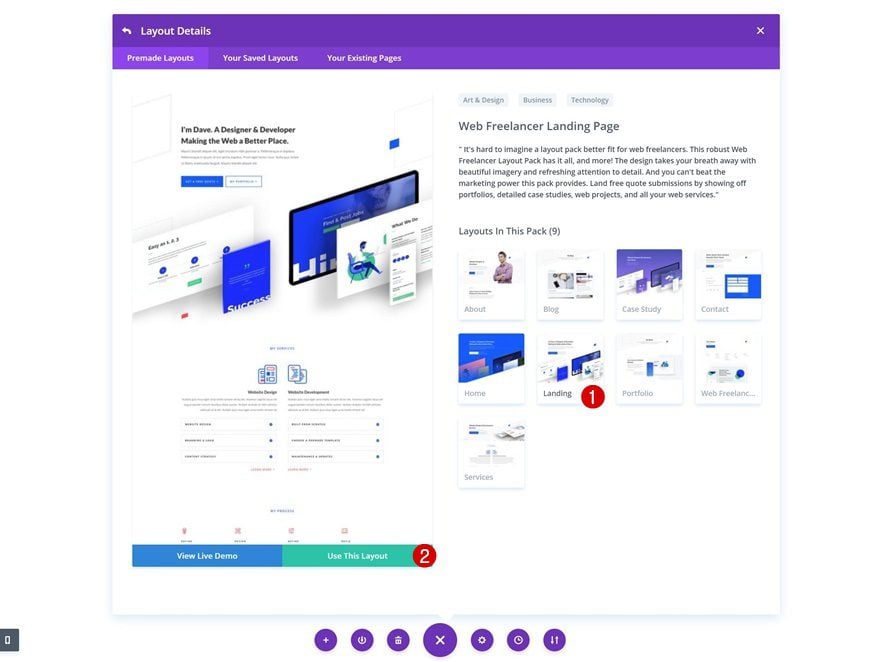
Find the Web Freelancer Layout Pack’s landing page in the list of free layout packs and upload it by clicking on the green button which says ‘Use This Layout’.
Step 1: Change Overall Background Color
Change Section Background Color of First Section
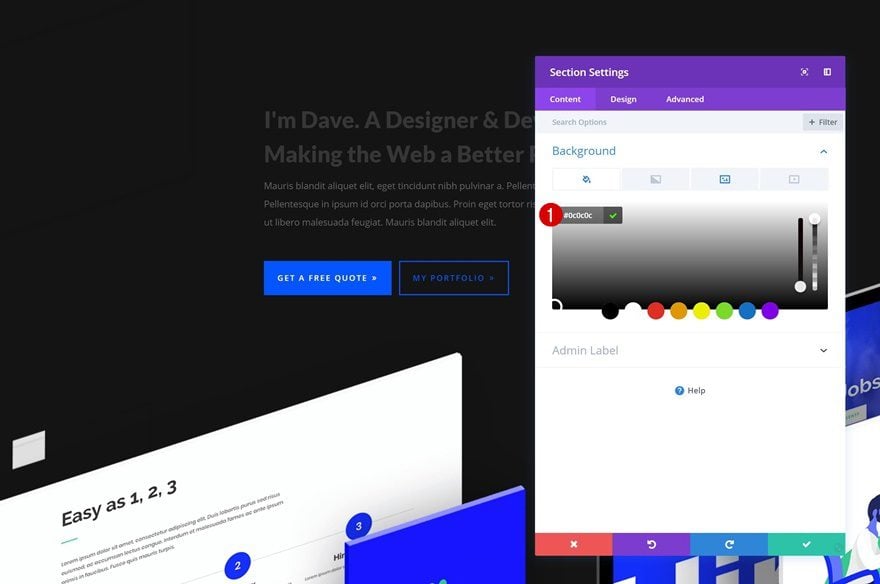
Time to get started! The first step we recommend you to take is changing the background color of all sections on your page. Once you do so, you’ll quickly be able to notice which design elements need to be changed to match the dark background color. Open the first section of the page and choose ‘#0c0c0c’ as the section background color.
Extend Style to All Sections
As soon as you add the background color, right-click on it and click on the ‘Extend Background Color’ option.
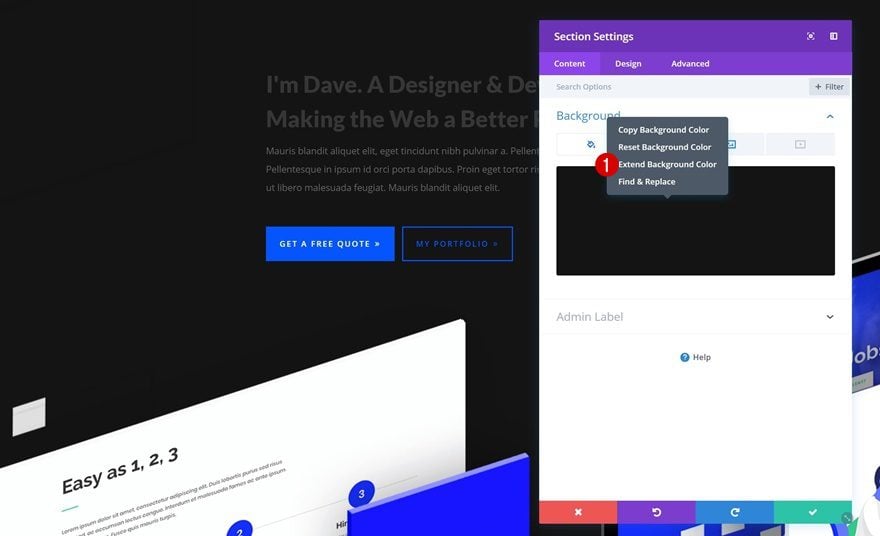
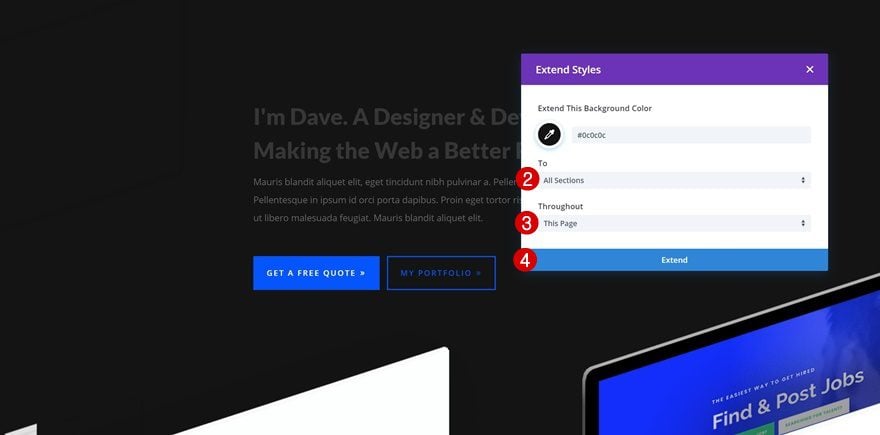
Once you do, choose to extend the background color to all sections on the page.
Step 2: Change Text Colors
Open Fullwidth Header Module & Change Text Color
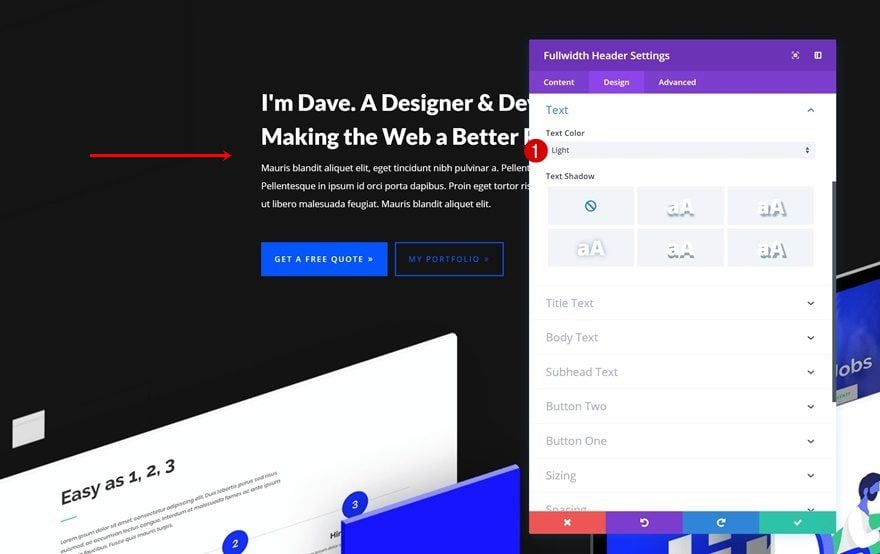
The next step you need to take is changing the text colors that are being used. As you may or may not know, there’s a default option in Divi that allows you to choose a light or dark color palette for the text on your page. Once you choose a custom color, however, this option gets replaced with the custom color you’ve chosen. Instead of checking each one of the elements to see if there’s a custom color there, go ahead and choose ‘Light’ as the text color in the Fullwidth Header Module.
Extend Style to All Modules
Then, extend this light text color by right-clicking and selecting the ‘Extend Text Color’ option.
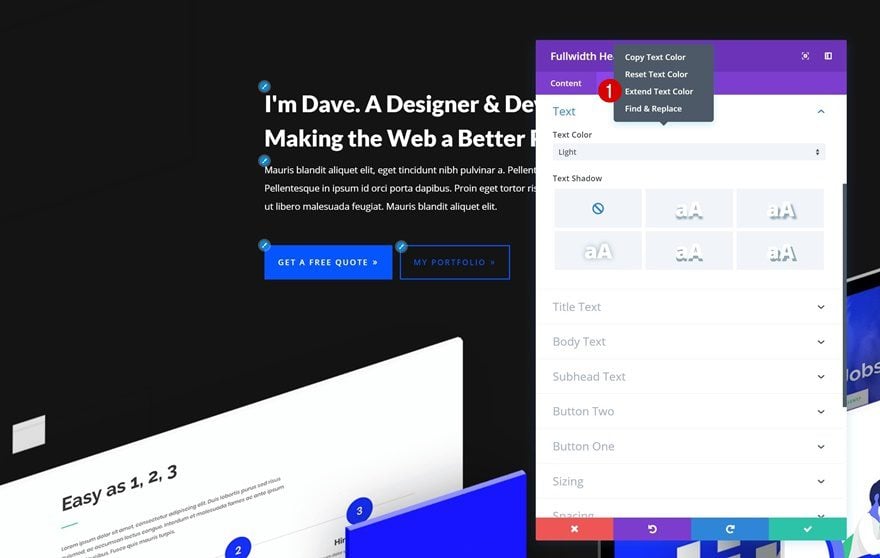
Extend this new color to all modules throughout the entire page.

Change Custom Colors Using Multi Select Feature
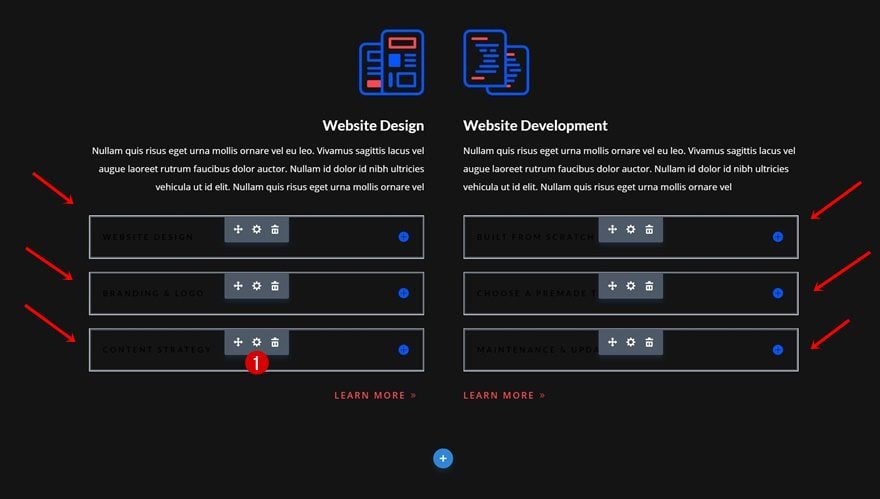
As mentioned before, the previous step won’t apply to colors that have been chosen in advance. The Toggle Modules, for instance, have a custom title text color. Instead of modifying each one of the toggles individually, select all of them at once using the control/command key on your keyboard and clicking on each one of the modules individually. Once you’ve selected all of them, click on the settings icon.
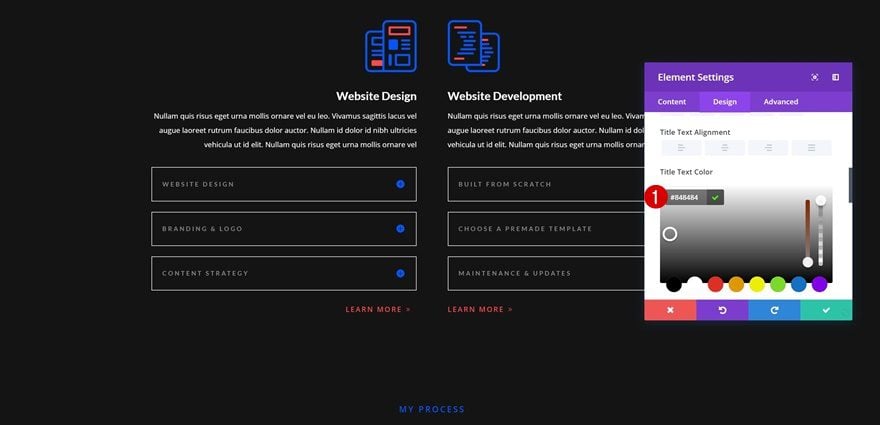
Now, you can make changes apply to each one of the selected modules at the same time. In this case, we’re changing the title text color to ‘#848484’.
Step 3: Change Buttons
Open Button One Settings of Fullwidth Header
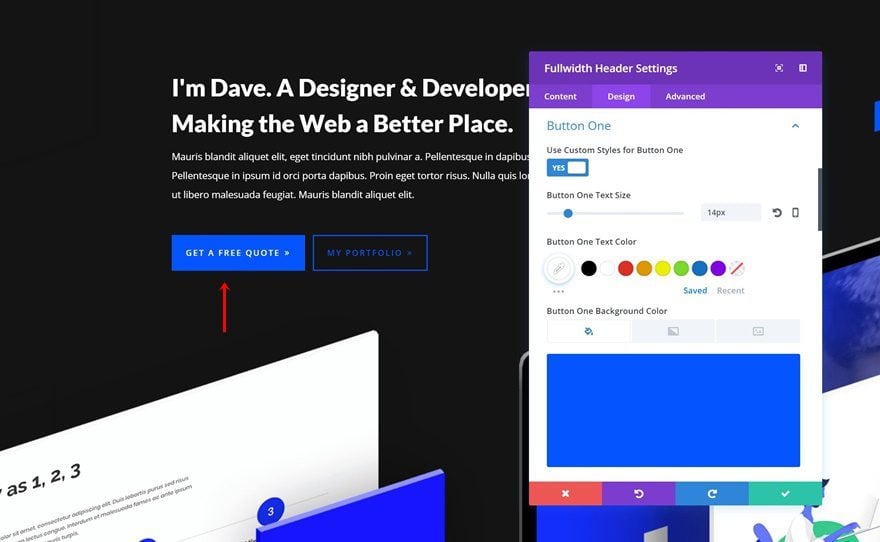
It’s important to make sure that the calls to action on your page keep matching the layout color palette. In this case, we have a Button Module that looks great on both a light and dark layout. That’s why we’re going to extend it to the other buttons on the page as well. Go ahead and open the Fullwidth Header Module and go to the Button One settings.
Extend Style of Button to All Buttons on Page
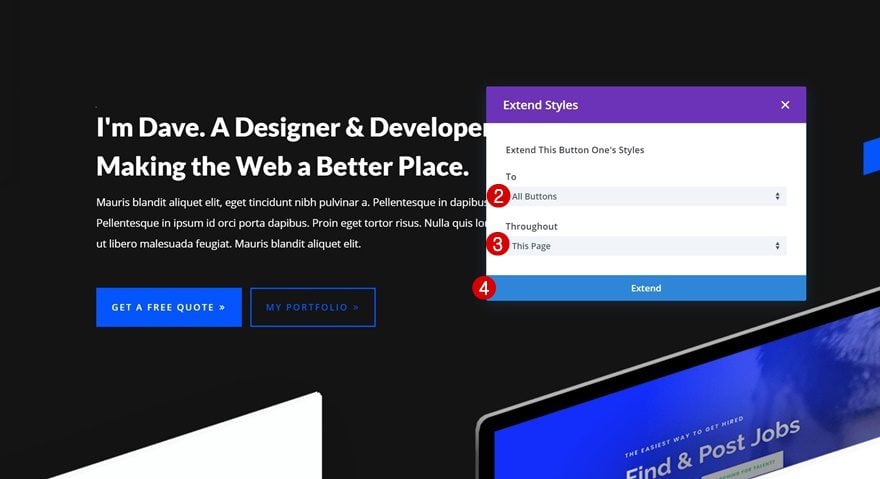
Then, right-click the Button One settings and select the ‘Extend Button One Styles’ option.

Extend the button style to all buttons throughout the entire page.
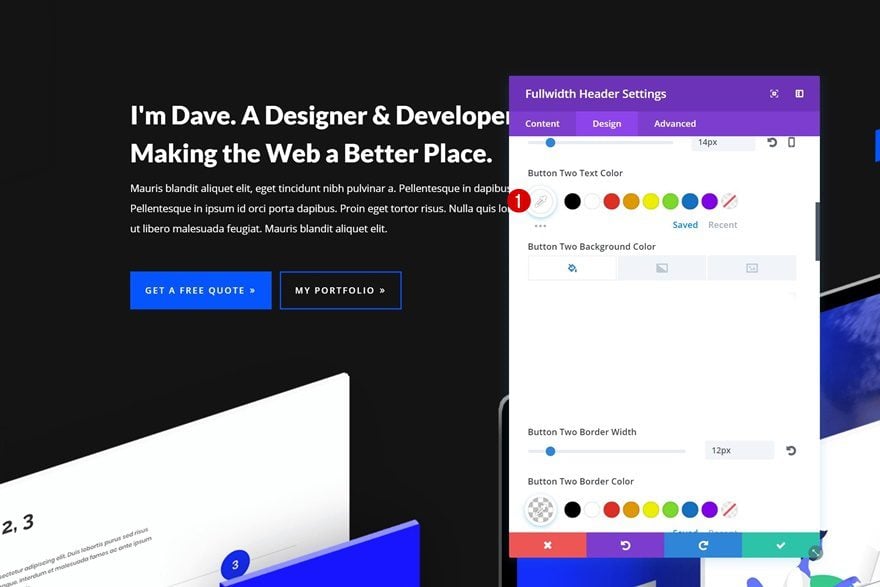
Change Button 2 Text Color in Hero Section
The extend feature doesn’t reach the second button of the Fullwidth Header Module because it isn’t a stand-alone module. That’s why we’re going to open the Button Two settings and change the text color to ‘#ffffff’.
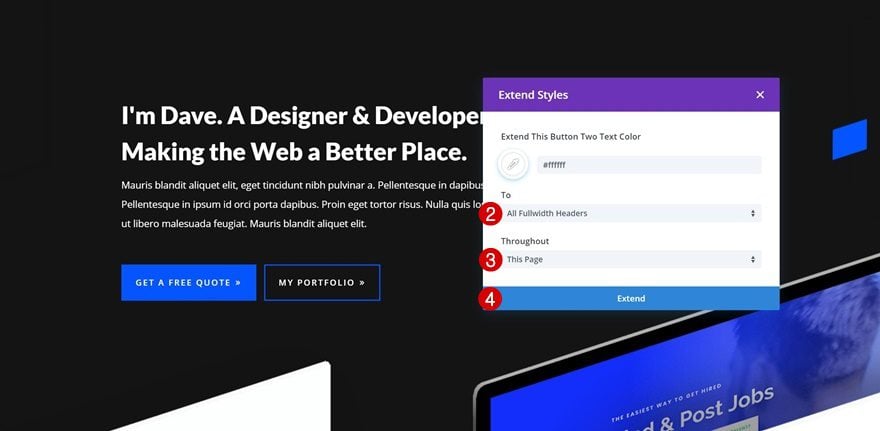
Extend Styles to All Fullwidth Headers on Page
To make sure this text color is applied to all Fullwidth Header Modules on the page, we’re going to extend it as well.
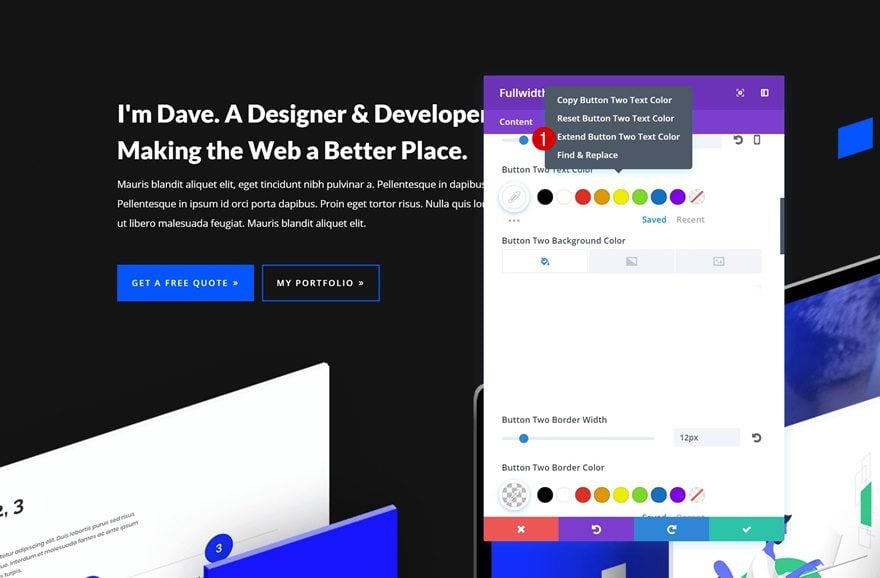
Once you’ve right-clicked the text color and selected the ‘Extend Button Two Text Color’ option, go ahead and make it apply to all the Fullwidth Headers throughout the entire page.
Step 4: Remove Custom Margin & Replace with Custom Padding
Remove Custom Margin
When switching over to a dark layout, it’s also important to remove all the custom margin values that bring whitespace to your page.
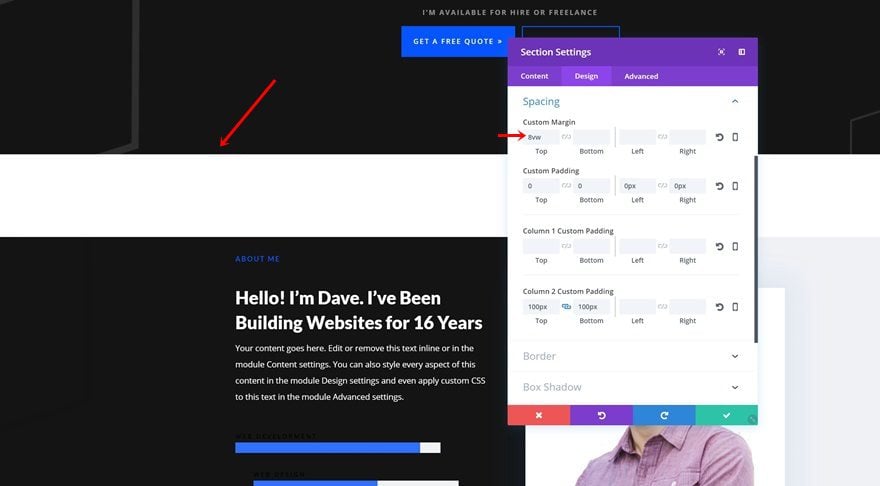
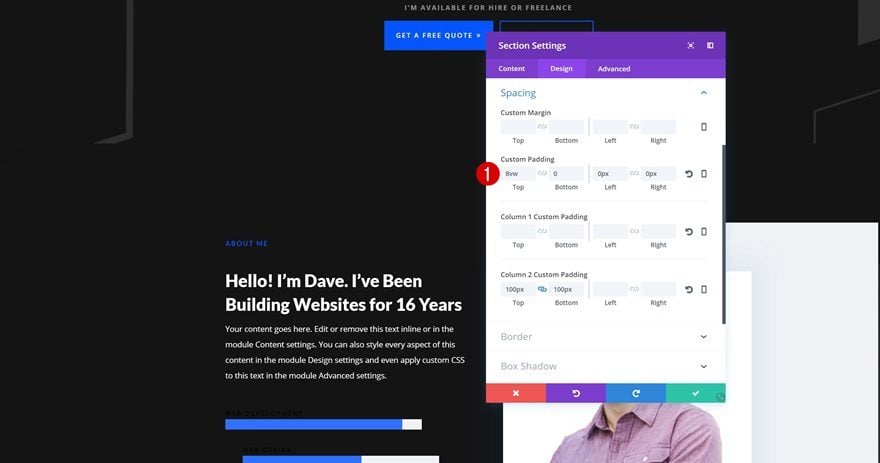
Use Custom Padding Instead
However, you can keep the distance that was there before by adding the custom margin as custom padding instead.
Step 5: Search for & Change Special Design Settings
Determine Special Design Settings
The last step that you’ll need to take is very specific to each one of the layouts. The design elements that are unique to a layout need to be changed as well. This can include, but is not limited to, some of the following settings:
- Box Shadows
- Column Backgrounds
- Icon Colors
- Divider Colors
- …
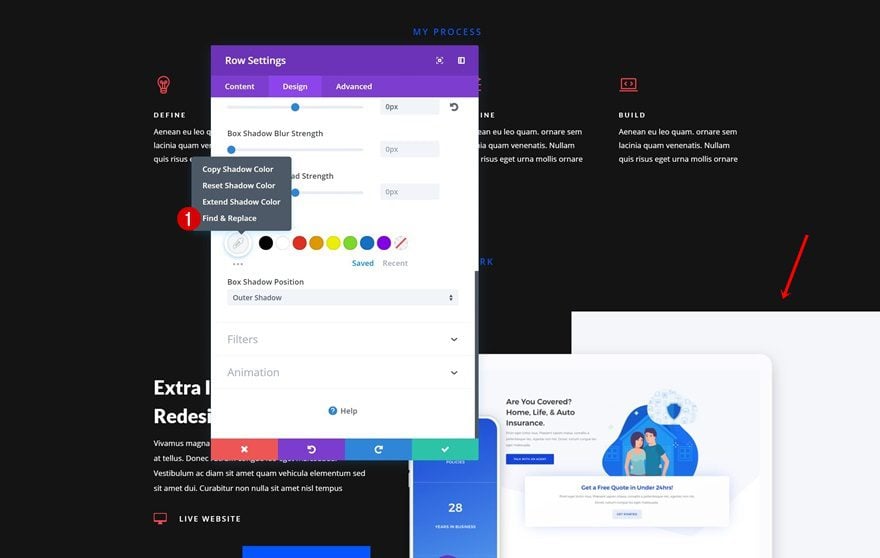
Use Find & Replace on Row Box Shadow Color
For this particular layout, one of the things we’ll need to change is the row box shadow color that is being used. Open the row settings and right-click the box shadow without changing it. Then, select the ‘Find & Replace’ option.
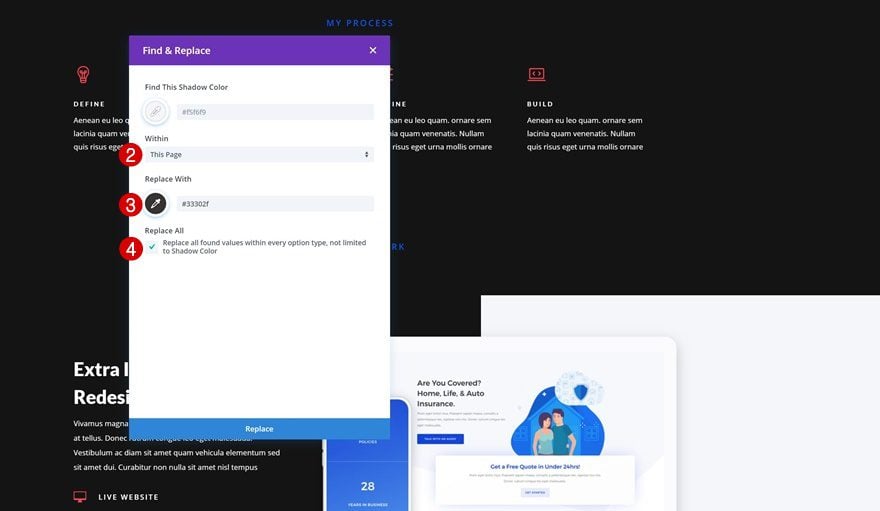
Using the Find & Replace feature is the best way to go if you want to change a specific color code on the entire page. You can easily replace it with another color code, in this case ‘#33302f’. This will make sure that you don’t have to explore all design elements to see exactly where a color has been used.
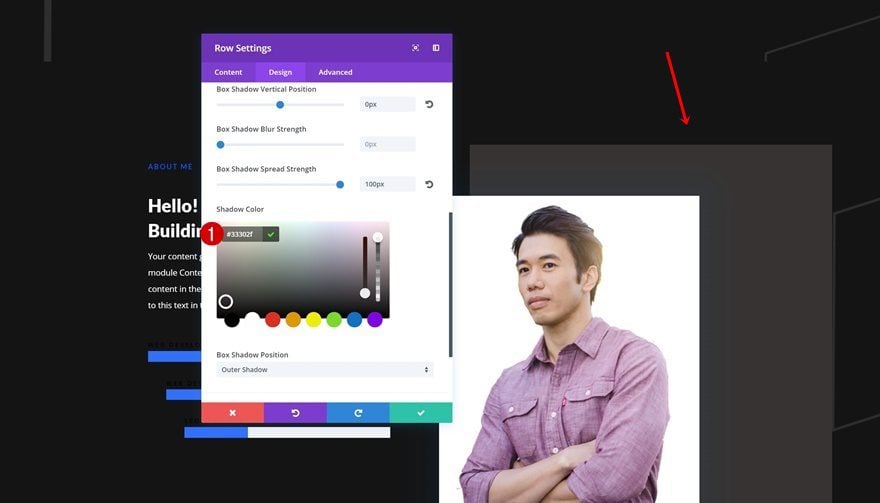
Change One-Time Occurring Settings Manually
There are, however, one-time recurring design settings within layouts as well. To change these, you’ll have to do it manually. The row in the print screen below, for instance, has box shadow color that hasn’t been used elsewhere on the page. That’s why we’re manually changing it into ‘#33302f’.
Preview
Let’s take a final look at the end result after going through the five steps.
Final Thoughts
In this post, we’ve walked you through turning a light layout pack into a dark one in just 5 steps. The number of steps you need to take will always depend on the layout you’re working on but overall, the approach remains the same. If you have any questions or suggestions, let us know in the comment section below!
The post How to Switch to a Dark Layout in 5 Steps Using Divi’s Efficiency Features appeared first on Elegant Themes Blog.
😉SiliconWeb Dev. | 🌐ElegantThemes